 ILLER
ILLERGetting started with Biller
New to Biller? This is the short path from a fresh account to ringing up your first bill. Each step links to a fuller guide -- but you don't need to read all of them before you start; you can come back and fill things in later.
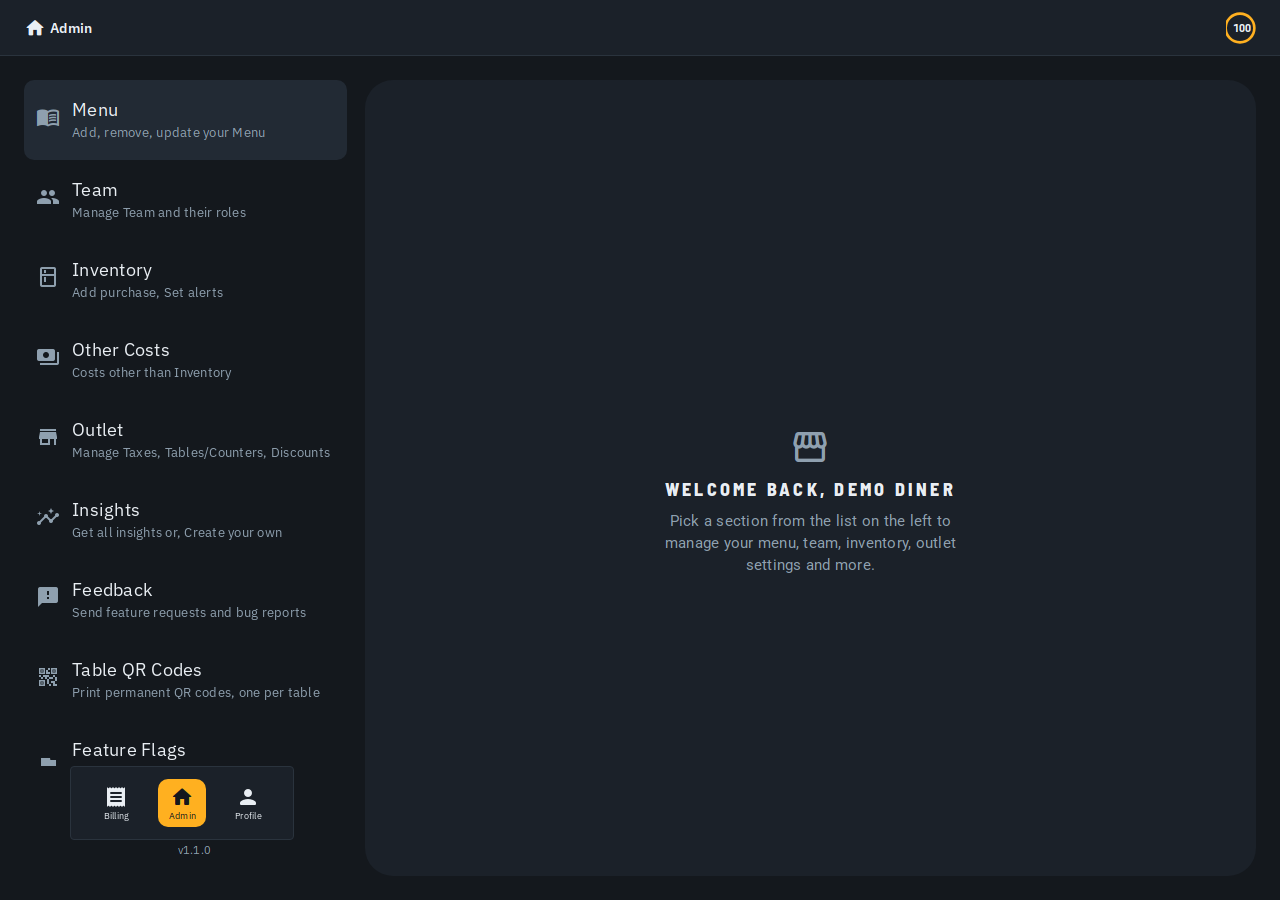
The first time you log in as an outlet admin, a short onboarding wizard walks you through steps 1, 3 (setting up your first tables/counters), 2 and a push-notification opt-in in one guided flow -- you can skip any step (or the whole wizard) and pick it back up later from the pages linked below.
1. Set up your outlet profile
Your outlet profile -- name, address, GSTIN, FSSAI number and phone -- is the identity that prints on every bill. None of it is required to start billing, but it's worth filling in before you go live.
2. Get your menu in
You have two ways to build your menu:
- Scan it from a photo (AI). Photograph your paper menu (or upload a CSV), let AI pull out the items and prices, then review and save. This is the fastest way to start from a printed menu. See Set up your menu from a photo.
- Add items by hand. Type items in yourself with a name, price, category and veg/non-veg type -- best for a small menu or for fixing up a few items after a scan.
Either way, nothing touches your live menu until you save.
3. Set up your tables/counters and taxes
Every bill you create in Biller is opened against a table/counter (e.g. "Dine In", "Takeaway", "Table 4") -- a "Main counter" is there by default so you can start billing right away, but add as many more as your outlet needs, then build a small catalog of taxes/charges (e.g. CGST, SGST, a service charge) and choose which of them apply to each table/counter. See Taxes & charges -- and, if you're GST-registered, the GST billing guide.
4. (Optional) Set up tables & QR codes
If you run dine-in service, you can create a permanent QR code per table so customers can scan to view their bill. See Tables & QR codes.
4a. Turn on push notifications
Push notifications are how Biller brings customers back -- a customer who's opted in gets notified about things like new menu items or offers even after they've stopped ordering for a while. The onboarding wizard offers this as a one-tap opt-in with an explainer of why it matters; you can also turn it on later from the notifications bell.
5. Ring up your first bill
Open a bill, add items, send it to the kitchen, complete it, and share it with the customer -- either as a scannable QR code or a printed thermal receipt. See Making a bill and Printing your bills.
6. Watch it work in the kitchen
Every bill you send to the kitchen appears on the kitchen ticket wall -- an on-screen display built to live on a mounted TV or tablet in the kitchen itself. See The kitchen ticket wall and Setting up a kitchen display.
7. See how you're doing
Once bills are flowing, the Insights screen gives you a plain-English, AI-generated daily digest backed by sales, customer and kitchen charts. See AI insights.
Tips
- If you see an "Update available" bar at the top of the screen, tap Refresh when convenient -- Biller ships improvements often, and this keeps your device from running a stale version. Tap Later to be reminded on your next visit instead.
- You genuinely can start with just steps 1, 2 and 5 -- everything else can be added as you go.
- If you run more than one outlet, use the outlet switcher in the admin header to move between them; the settings you edit always belong to the outlet that's currently selected.
- Bills run on a free daily quota, with prepaid credit packs when you need more -- see Bill credits & pricing.