 ILLER
ILLERSetting up your outlet
An outlet in Biller is your restaurant, café, cloud kitchen or takeaway counter -- one physical business location. Its profile is the identity that prints on every bill (name, address, tax numbers, phone), and it's also the account everything else you set up -- tables/counters, menu, taxes, team -- belongs to. It's a handful of fields, and you can come back and change them any time.
Credits, at the top of the page
The Outlet page opens with a Credits panel -- your free bills available today and your permanent bill-credit balance, with a Recharge credits button that jumps straight to the bill-credit top-up flow. These numbers are read live from your account, same as the usage banner you see while billing.
Updating your outlet profile
- Go to Outlet in the admin side bar.
- Tap the ⋮ (overflow) menu at the top right of the page.
- Choose Update Profile.
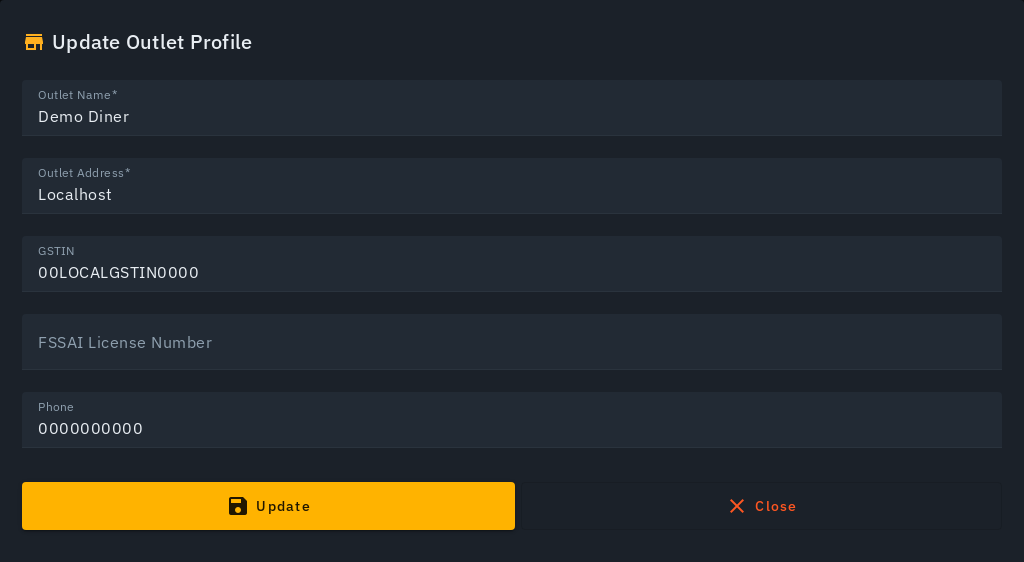
- Fill in:
- Outlet Name -- shown at the top of the printed bill (e.g. "Gasolo's Pizza").
- Outlet Address -- floor, building, street, city, country.
- GSTIN -- your GST registration number, if you have one. Leave it blank if you're not GST-registered; it only prints on the bill when set.
- FSSAI License Number -- your food-safety license number. This is entered here per outlet, not looked up automatically, so double-check it's correct -- it prints on the bill wherever your bill template is set to show it.
- Phone -- the outlet's contact number, printed on the bill.
- Tap Update to save.
Outlet logo
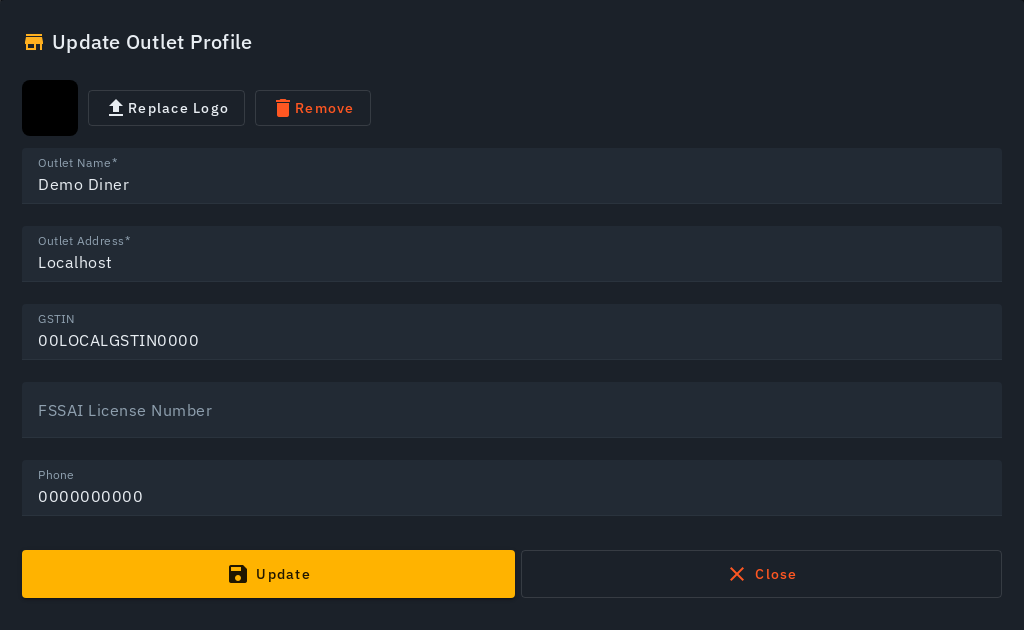
The same Update Profile sheet has a logo/image control at the top:
- Tap Replace Logo (or Upload Logo if you haven't set one yet) and pick a PNG, JPEG, or WEBP image (up to 2MB).
- Your logo is shown right away in the preview, and the change saves immediately -- there's no separate "Update" step for the logo.
- Tap Remove to take the logo off and fall back to the default icon.
Your outlet logo shows up on the customer table-QR join screen, and is reused wherever your outlet's branding is shown (printed receipts, your public outlet page).
Guided tour
The first time you open this page, a short guided tour walks through the Credits panel, Table Organisation, Moving charges, and Discounts. It only shows itself once; if you want to see it again, open the "..." menu and pick Take a Tour.
Tips
- None of these fields are required to start billing, but GSTIN and FSSAI are worth filling in before you go live if you're registered for either -- they only show up on printed bills once they're set.
- The same Outlet page is also where you manage Table Organisation and Moving charges -- see the Taxes & charges guide for those.
- If you run more than one outlet, use the outlet switcher at the top of the admin header to jump between them -- the profile you're editing always belongs to whichever outlet is currently selected.