
Adding team members with an invite link
The fastest way to add a cashier, waiter or kitchen staffer is a one-time invite link -- generated with the role already set, shared over WhatsApp or copied anywhere, and good for a single use.
What each role can do
| Role | Can do | Cannot do |
|---|---|---|
| Admin | Everything -- billing, menu & pricing, taxes, inventory, reports, outlet settings, and the only role that can manage the team | -- |
| Cashier | Create bills, take payment, settle dues, apply discounts, print receipts, mark a dish out of stock | Edit the menu or prices, touch team or outlet settings |
| Waiter | Create bills, add/edit order entries, move tables, apply discounts, mark a dish out of stock | Complete or settle a bill's payment |
| Kitchen | See and update the kitchen order queue, mark a dish out of stock, edit a dish's name/description/photo/category | See bill totals, take payment, reports, team settings, or change a dish's price/tax |
These four roles are fixed -- there's no custom permissions editor to grant one waiter more access than another.
Assigning Kitchen when your outlet has no kitchen bill type shows a warning. Kitchen staff work off the kitchen order queue, which only fills up for bill types NOT marked "Quick bill" (outlet settings → Bill types). If none of your bill types route to a kitchen, a warning appears next to the Role field (on the invite link, Add Team Member, and per-row edit) so you know that member won't have a working screen yet -- you can still assign the role, but it's a heads-up, not a block.
Generating a link
- Go to Team in the admin side bar.
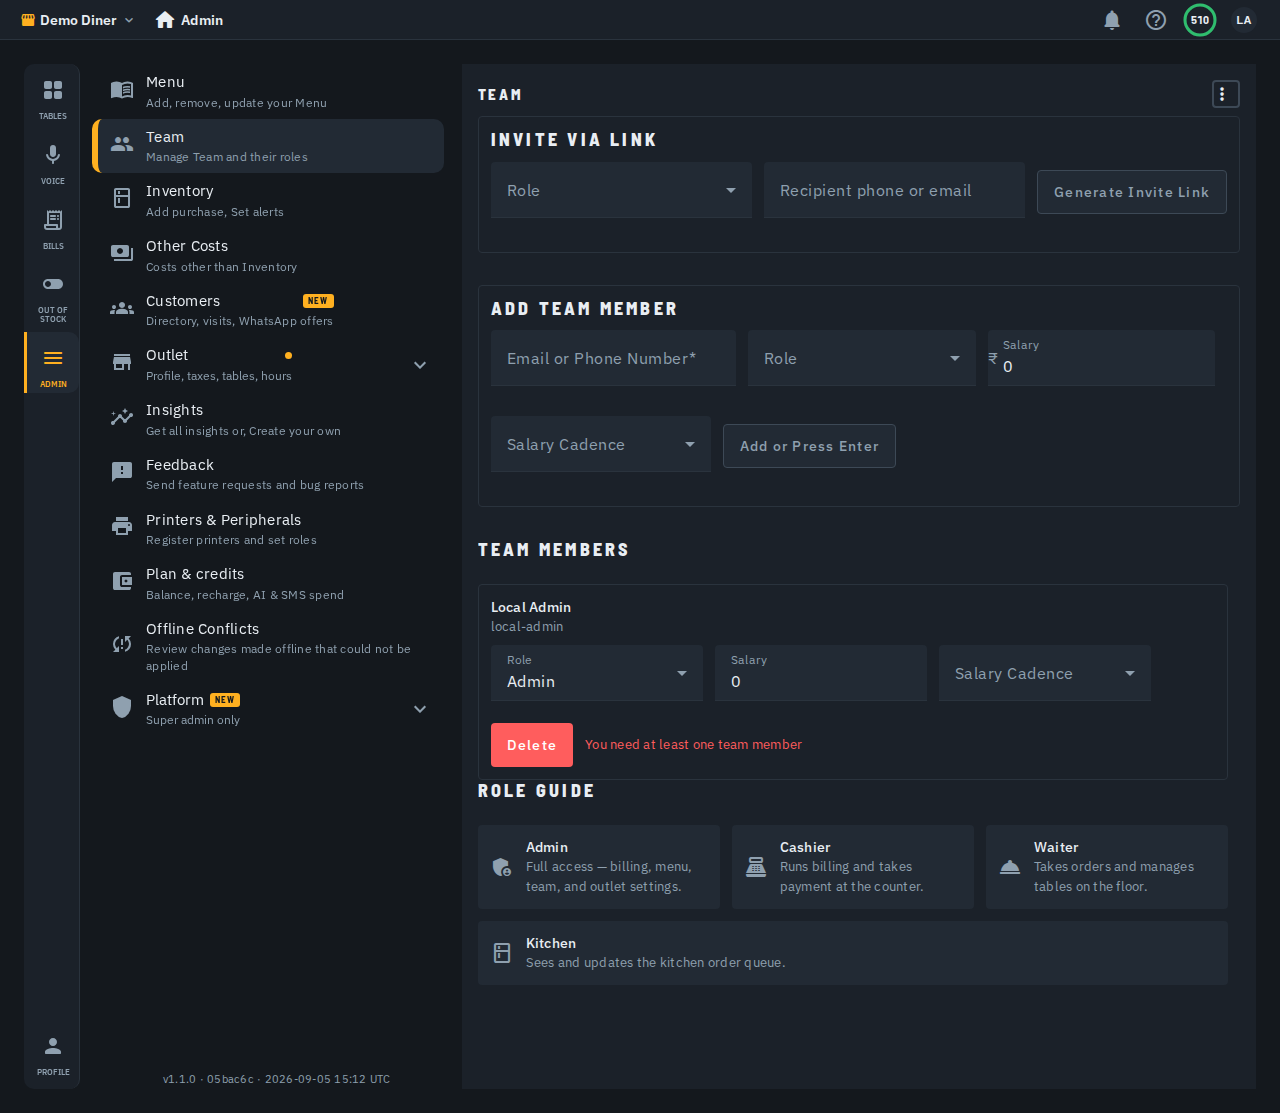
- Under Invite via Link, choose the Role the new team member should have -- admin, cashier, waiter or kitchen.
- Enter the person's phone number or email in Recipient phone or email -- the same one they'll sign in with.
- Tap Generate Invite Link.
The link is shown right away with Copy Link and Send on WhatsApp buttons, so you can hand it straight to the person joining.
What the link does
Whoever opens it signs in (or creates an account, if they don't have one yet), sees a short confirmation of which outlet they're about to join and in what role, and only joins once they tap Join. Nothing is added to your team until then.
- Bound to the recipient. Only the phone number or email you entered can accept it -- a different account opening the link is refused, and the link stays unused.
- Single-use. Once the intended recipient accepts it, the same link can't be used again.
- Expires in 7 days. An unused link stops working after a week; just generate a new one if it lapses.
- You choose the role, not them. Locked in at generation time, so an invite can never grant more access than you intended.
Managing pending invites
Any link generated but not yet used shows up under Pending Invites, with its role and expiry date. From there you can:
- Copy or Send on WhatsApp again, if you need to resend it.
- Resend (the refresh icon) -- generates a brand-new link for the same person and role in one tap, and invalidates the old one. Use this if the original link was mistyped, went stale, or you just want a fresh one -- no need to revoke first.
- Revoke it -- immediately invalidates the link without replacing it.
If someone tells you their link "isn't valid", double-check they copied the whole thing -- a link missing its last few characters won't resolve. Tapping Resend is the fastest fix either way.
Adding someone directly
If you already know a team member's Google email or phone number, the Add Team Member section above still lets you add them directly by that identifier, with a role and salary, in one step -- no link to send.
Salary Cadence -- auto-posting salary as an expense
Set a Salary Cadence (Monthly, Weekly, or Daily for daily-wagers) on a team member -- while adding them, or later from their card -- and their salary posts itself to Expenses on that schedule automatically. Leave it on No auto-expense if you don't want this (the default), and record salary payouts yourself in Expenses instead.
- Changing the salary amount on an already-cadenced member updates the same recurring expense going forward -- it does not create a duplicate.
- Changing the cadence (say, Monthly to Weekly) reschedules the same linked expense.
- Setting cadence back to No auto-expense, or removing the member, stops future postings -- past expense records stay in your history.